A rusty gas tank is more than just an eyesore—it can seriously impact your vehicle’s performance. Rust inside your gas tank can lead to fuel contamination, clogging your fuel system and damaging your engine over time. If you want to keep your vehicle running smoothly, learning how to clean a rusty gas tank is essential. At City Wide Radiator, we’re here to help you maintain your vehicle’s critical components with expert advice and service across Calgary.
Understand the Risks of a Rusty Gas Tank
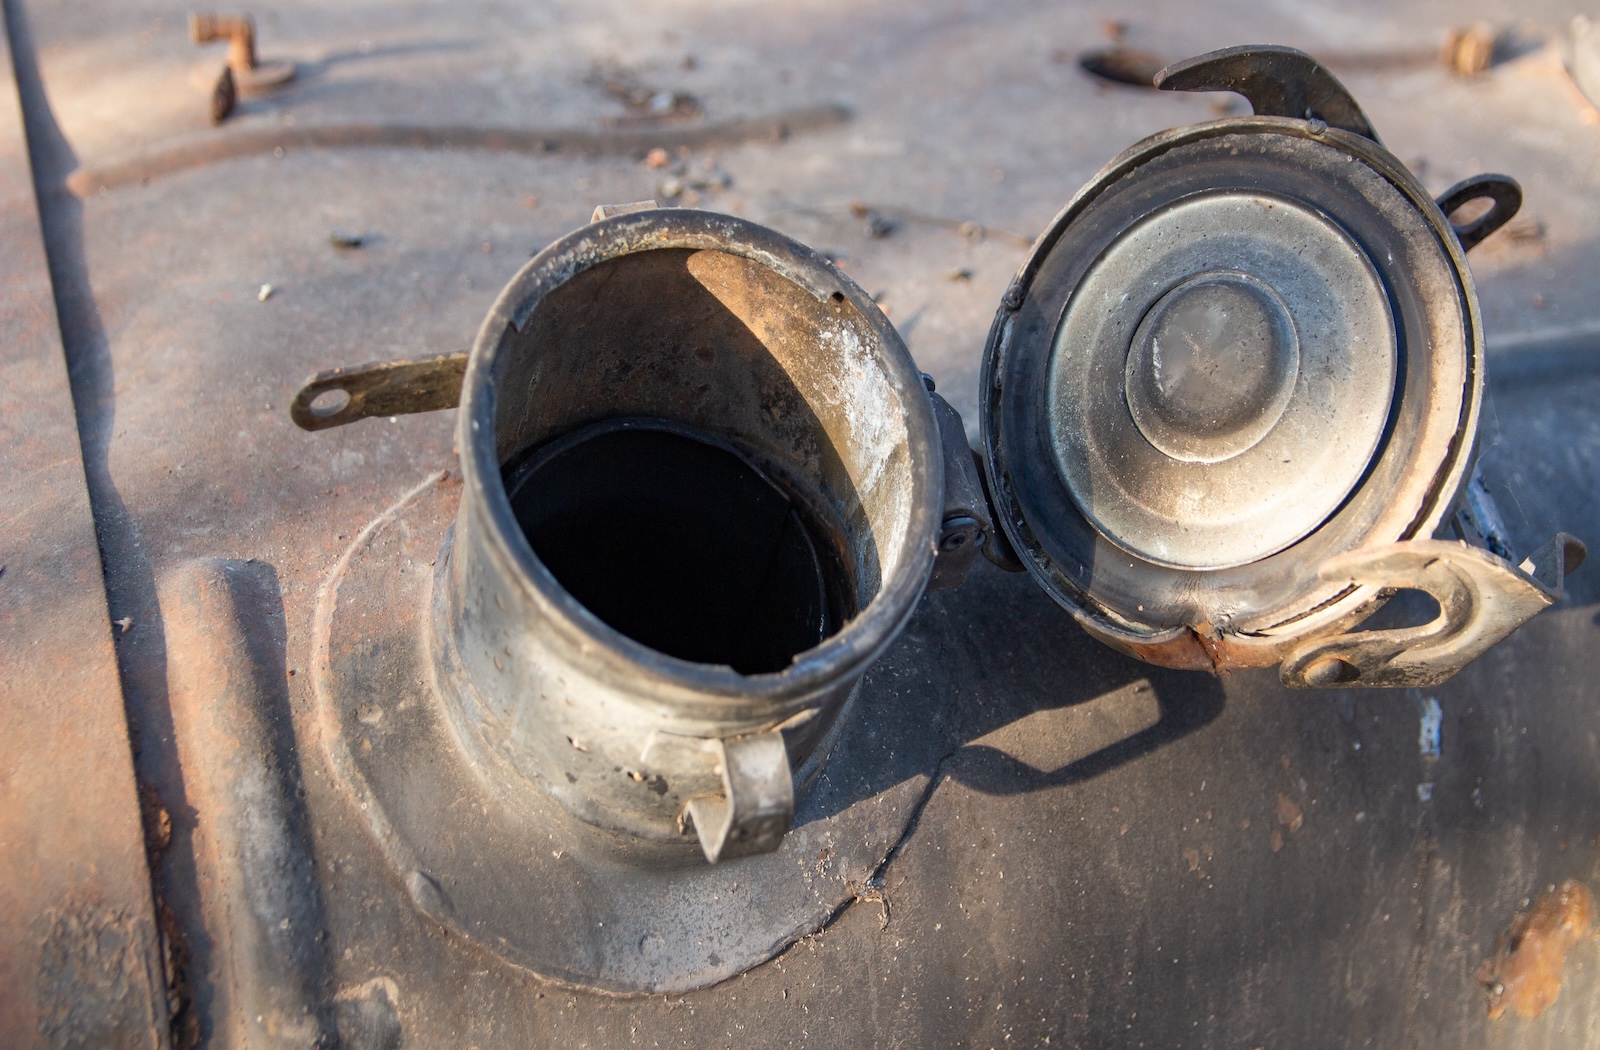
If you’re seeing signs of rust in your gas tank, it’s important to act fast. Leaving rust unchecked can cause serious problems. For starters, rust can contaminate your fuel, leading to clogged fuel injectors and a sluggish carburetor. You might also notice a drop in your engine’s performance and fuel efficiency. Over time, the risk of engine misfires, stalling, and even complete fuel system failure increases.
Cleaning a rusty gas tank isn’t just about appearance — it’s about protecting your engine, your wallet, and the overall health of your vehicle for the long haul.
Gather Necessary Tools and Materials
Before diving into the cleaning process, it’s smart to have everything you’ll need laid out and ready to go. Here’s what you’ll want on hand:
- Gas tank cleaner or degreaser
- Rust remover (you can use a commercial product or a DIY option like vinegar)
- Safety goggles and chemical-resistant gloves
- A few short pieces of metal or plastic chain to help agitate the rust
- Plenty of water for rinsing
- A gas tank sealer (optional, but a good investment for future protection)
- A drain pan for old fuel
- Basic hand tools for tank removal
- Clean cloths or towels
- An air compressor or even a hairdryer for drying
Having all these supplies nearby not only makes the job smoother but also ensures you aren’t scrambling once you get started.
1. Empty the Gas Tank
With your tools ready, the first real step is to empty out the gas tank. Start by placing a drain pan underneath the tank to catch any remaining fuel. If your tank has a drain plug, open it carefully; otherwise, you can disconnect the fuel line to allow the fuel to flow out.
Make sure you collect the old gas in an approved container and never dump it down a drain or onto the ground. In Alberta, there are strict environmental guidelines for disposing of old fuel — so take it to a proper hazardous waste facility when you’re done.
2. Remove the Gas Tank
Once the fuel is drained, it’s time to remove the tank. First, always disconnect the battery to avoid any accidental sparks. Then carefully disconnect the fuel lines, any electrical connections, and the mounting straps that hold the tank in place.
Lower the tank gently. Gas tanks can be awkward to handle because of their size and shape, so take your time. Being careful here helps prevent unnecessary damage and makes the cleaning process easier.
3. Inspect the Tank
Before you jump into cleaning, give your gas tank a close inspection. Look for obvious signs of severe corrosion, cracks, or holes. If the tank’s structure is compromised, it might be safer — and smarter — to replace it entirely rather than trying to salvage it.
However, if the tank looks solid overall, you’re good to go. This step is crucial because trying to clean a tank that’s already too far gone could end up wasting your time and money.
4. Cleaning the Interior of the Gas Tank
Now for the real work: cleaning the inside of the tank. First, pour in your chosen rust remover and a gas tank cleaner. If you’re using a DIY method, a combination of vinegar and baking soda can be surprisingly effective.
Next, toss in a few short pieces of metal or plastic chain, seal up the tank’s openings, and give it a vigorous shake. This physical agitation, combined with the chemical reaction from the cleaner, will help break loose stubborn rust and debris inside.
After shaking, let the solution sit for several hours — or even overnight if the rust buildup is heavy. Patience here pays off because it allows the rust remover to penetrate and lift even the toughest deposits without damaging the tank’s interior.
5. Rinse Thoroughly
When the soaking is done, it’s time to rinse everything out. Drain the solution and debris from the tank, then rinse it multiple times with clean water.
You want to keep rinsing until the water runs completely clear. This step is crucial because any leftover chemicals or rust particles could cause new corrosion once you put the tank back into use.
6. Dry the Gas Tank Completely
Once the tank is rinsed out, drying it thoroughly is critical. Even a little bit of lingering moisture can start the rusting process all over again.
Use an air compressor or a hairdryer to blow warm air into the tank, making sure you get into all the nooks and crannies. Then, leave the tank in a warm, dry area for a few hours to ensure every last drop of moisture is gone.
7. Seal the Tank (Optional but Recommended)
Once your gas tank is completely dry, you have the option to add a gas tank sealer. While this step isn’t mandatory, it’s highly recommended if you want long-term protection against future rust and corrosion.
To apply the sealer, simply follow the manufacturer’s instructions. Typically, you’ll pour the sealer into the tank, rotate and tilt the tank to coat all internal surfaces, and then drain out any excess.
Be sure to give it plenty of time to cure before reinstalling the tank — rushing this step can affect the sealant’s performance. Taking the time to properly seal your gas tank now can save you a major headache down the road, especially in Alberta’s varying climates.
8. Reinstall the Gas Tank
Once everything is clean, dry, and sealed (if you chose to seal it), it’s time to reinstall your gas tank.
Start by carefully lifting the tank back into position. Reconnect all fuel lines, electrical connections, and mounting straps exactly as they were before. Tighten everything securely but avoid over-tightening, which can damage fittings and connections.
Finally, reconnect the battery and double-check all your work. If everything looks good, you can add fresh fuel to the tank. It’s always a good idea to monitor for any leaks or issues during your first drive after reinstallation — better safe than sorry!
9. Dispose of Waste Properly
Throughout this project, you’ll accumulate old fuel, used cleaning solutions, and possibly even rust particles and contaminated water. It’s extremely important to dispose of all of this waste properly.
In Alberta, environmental regulations are strict for a reason: improper disposal can cause serious harm to the environment.
- Take old fuel and chemical waste to a certified hazardous waste facility.
- Never pour chemicals down household drains or storm sewers.
- Check with your local recycling center for guidelines on disposing of containers and used cleaning materials.
Following proper disposal guidelines isn’t just about compliance — it’s about protecting our communities and the beautiful landscapes we call home.
Keep Your Gas Tank Rust-Free with City Wide Radiator
Knowing how to clean a rusty gas tank can save you from costly engine repairs down the road. If you suspect significant rust or need professional help, the team at City Wide Radiator is ready to assist. We offer expert advice, gas tank cleaning services, and radiator repair solutions across Calgary, Red Deer, and Southern Alberta.
Contact City Wide Radiator today to keep your vehicle running reliably and efficiently!
